
Product Description
ESP Safety Shelters & Safe Rooms – Ultimate Protection Against Tornadoes and Home Invasions
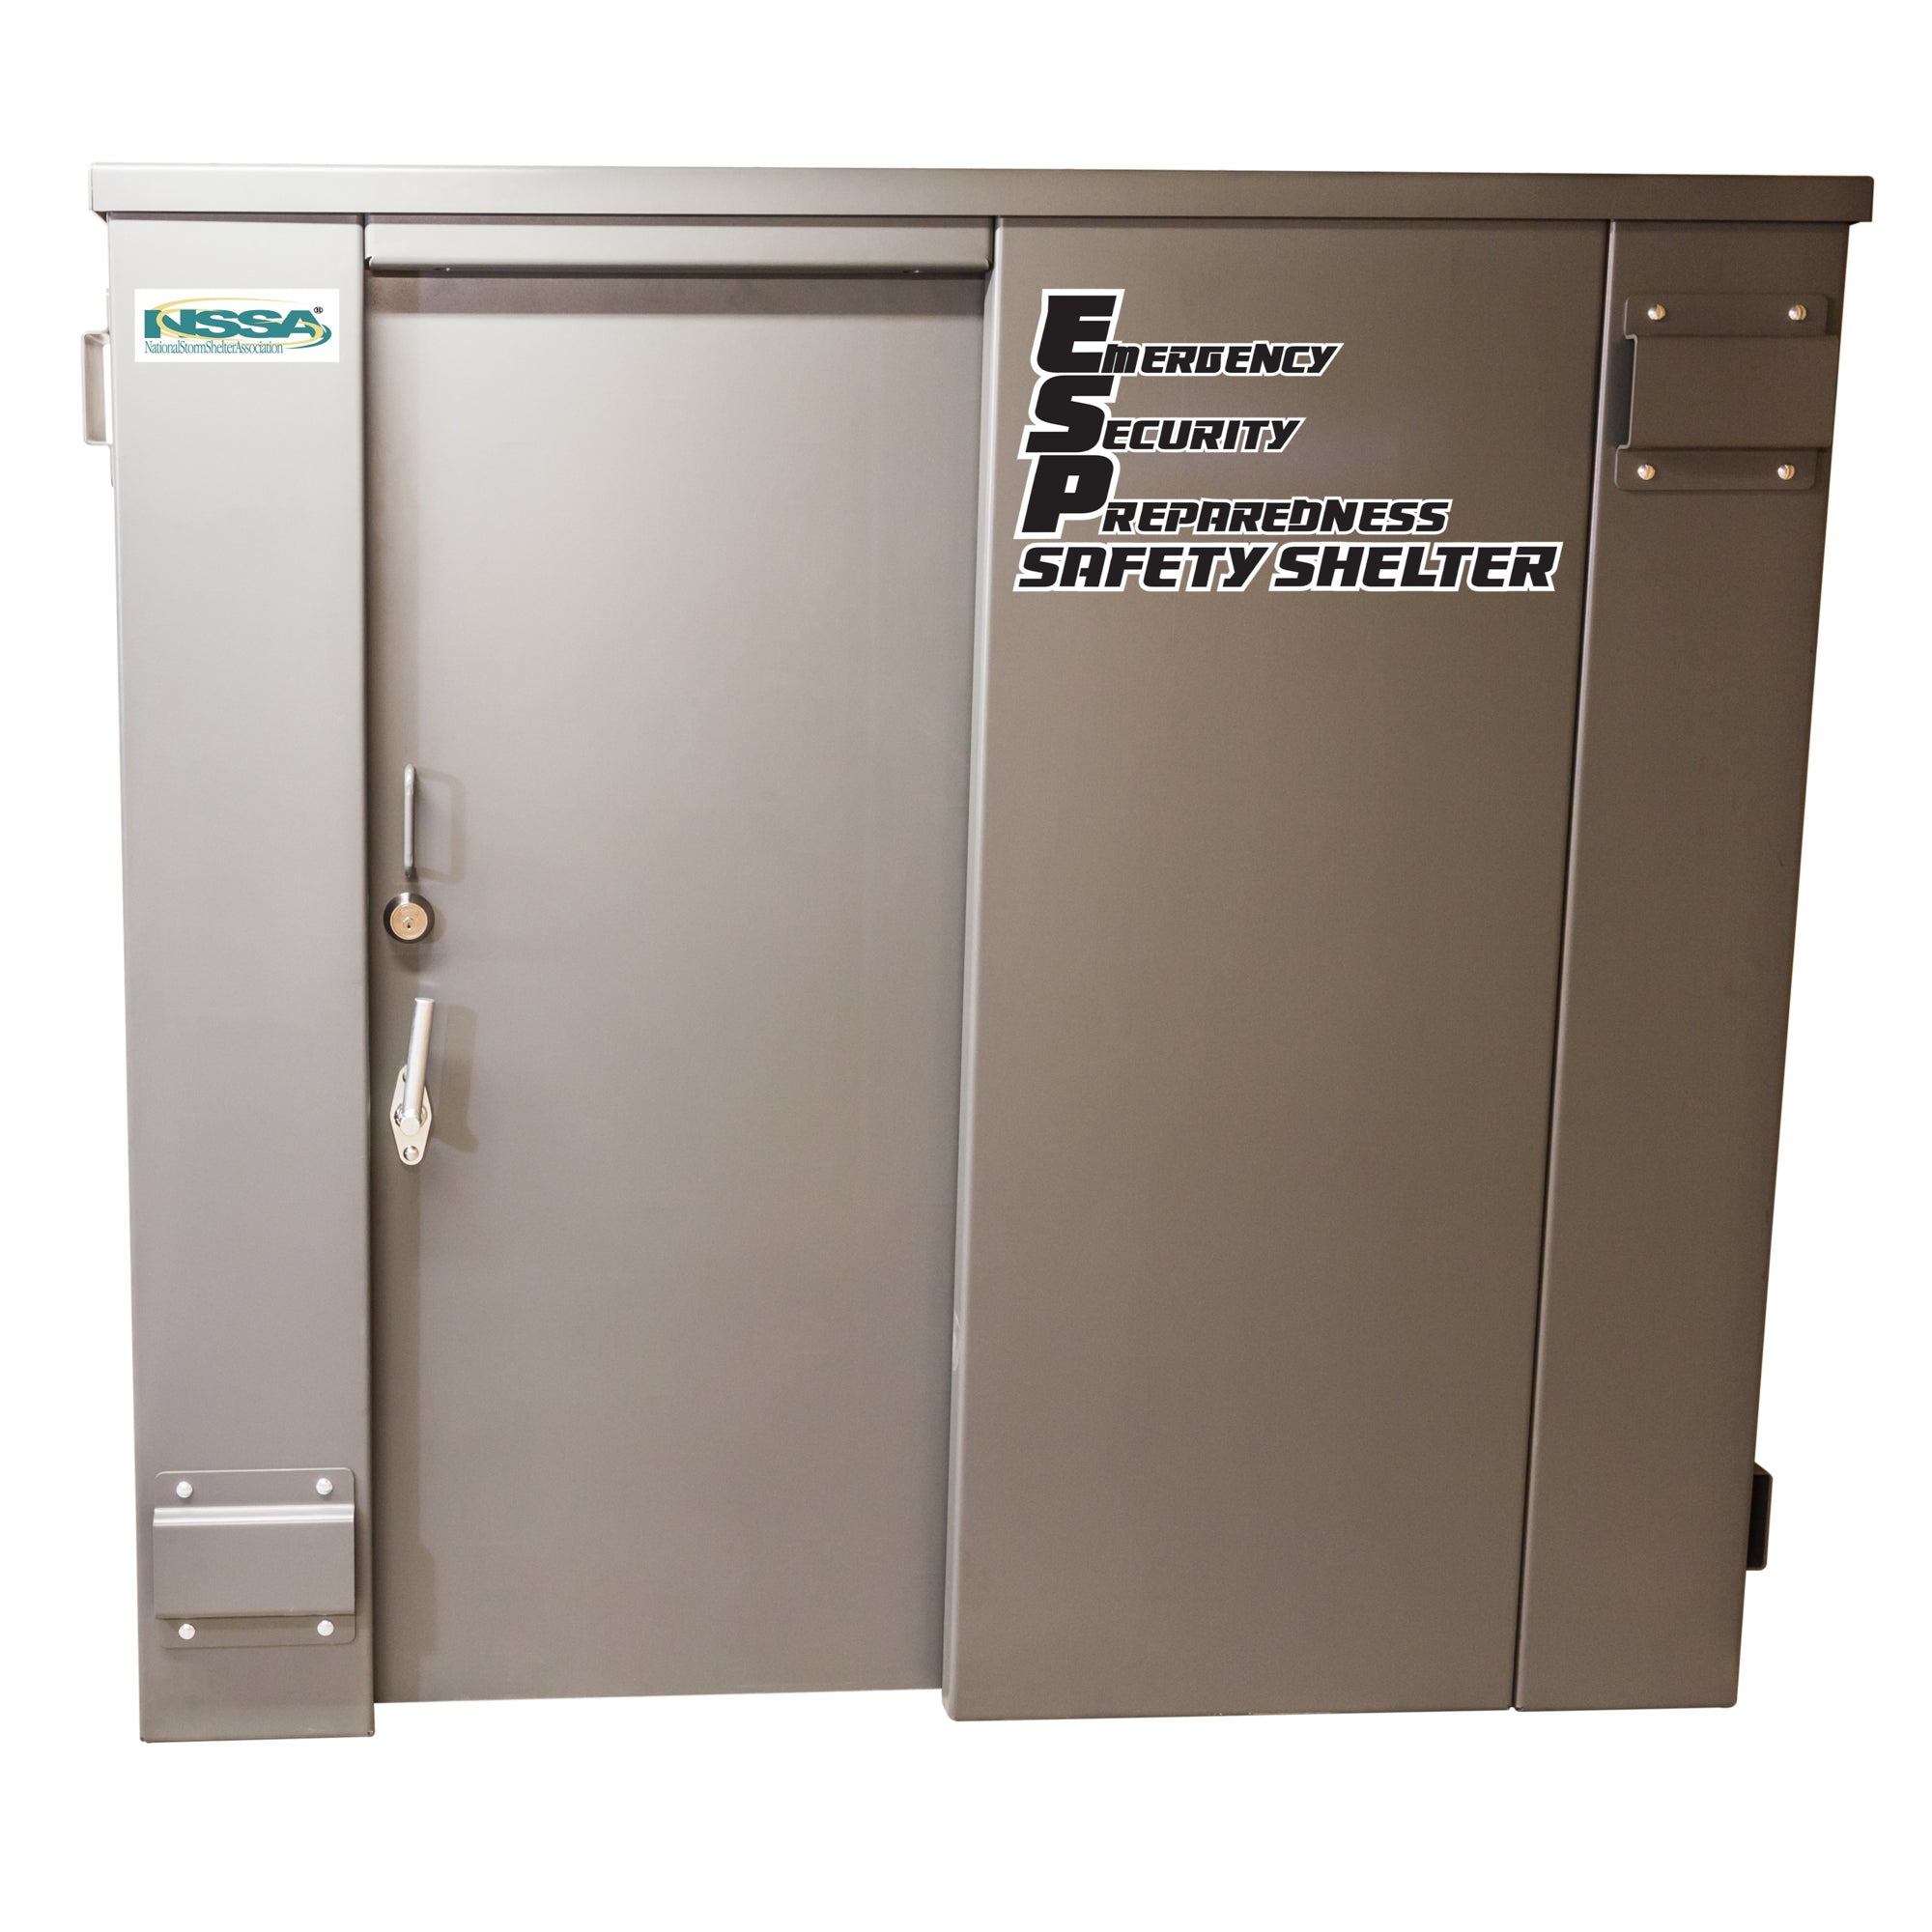
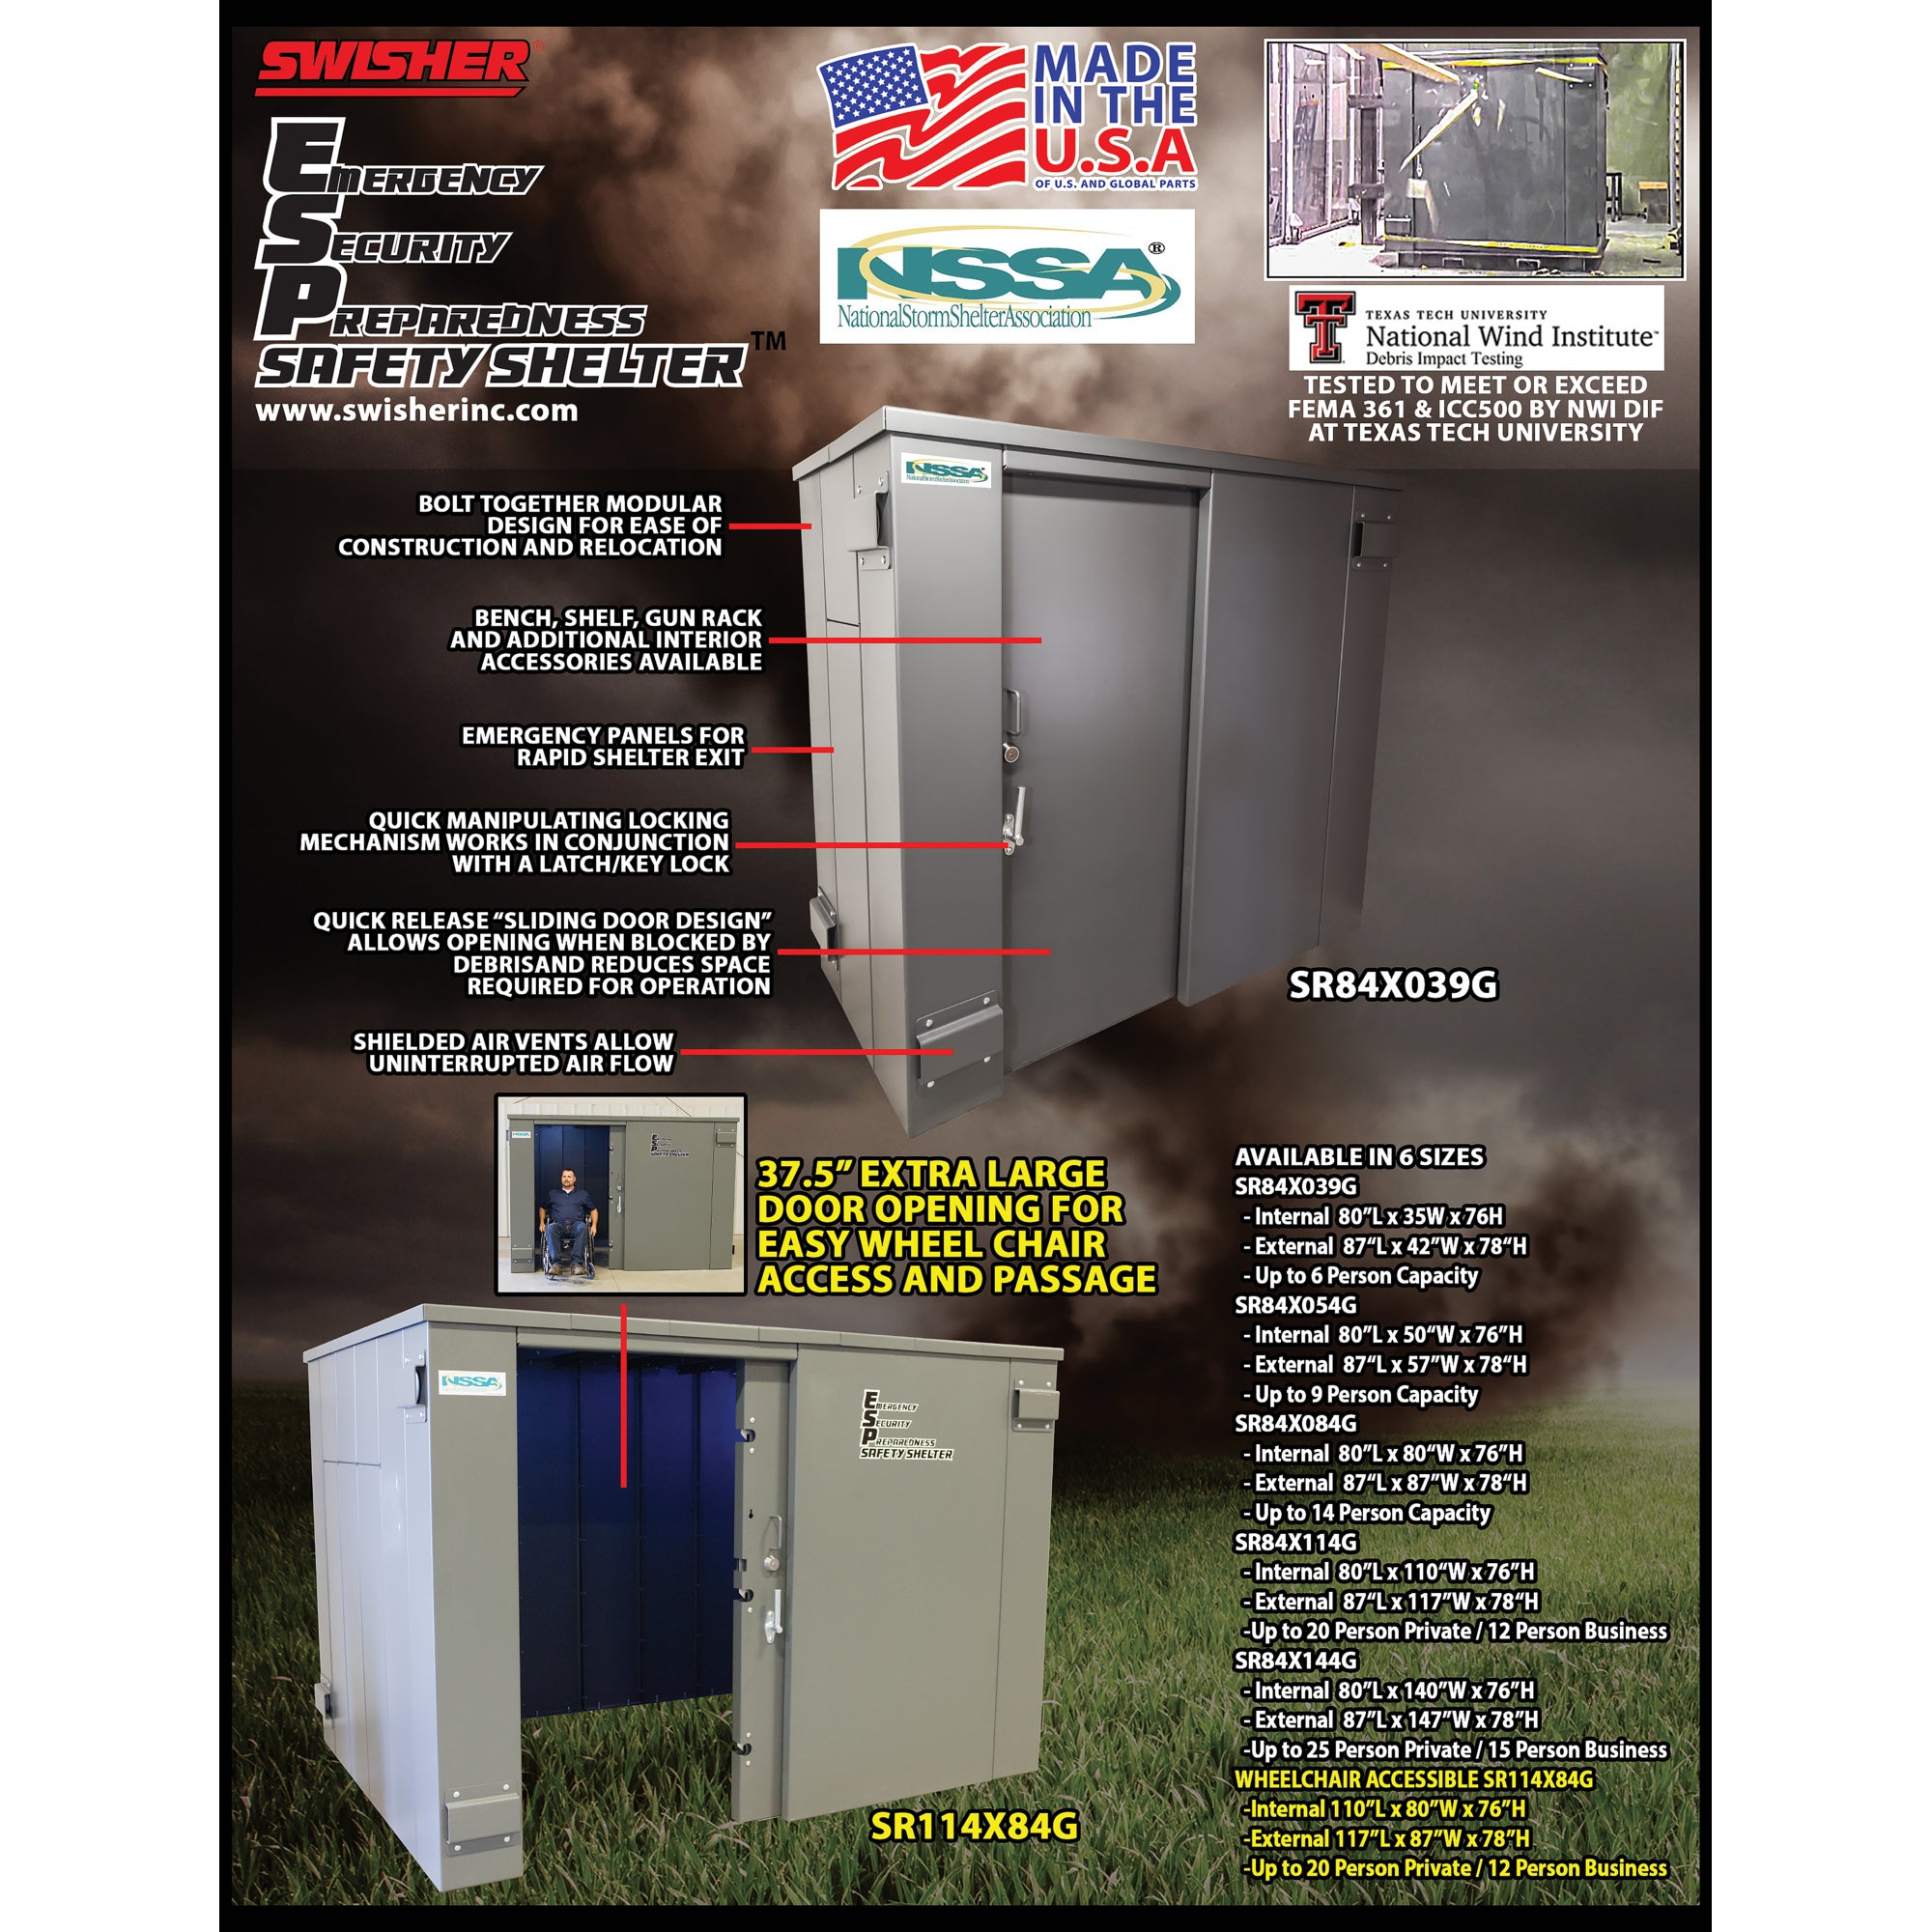
ESP (Emergency – Security – Preparedness) Safety Shelters and Safe Rooms (Above-Ground Only) provide multi-purpose protection and security for you and your loved ones against extreme tornadoes, violent storms, and home invasions. Designed and Made in the USA, these shelters are built to withstand the harshest conditions, offering a safe zone with near-absolute protection in times of crisis.
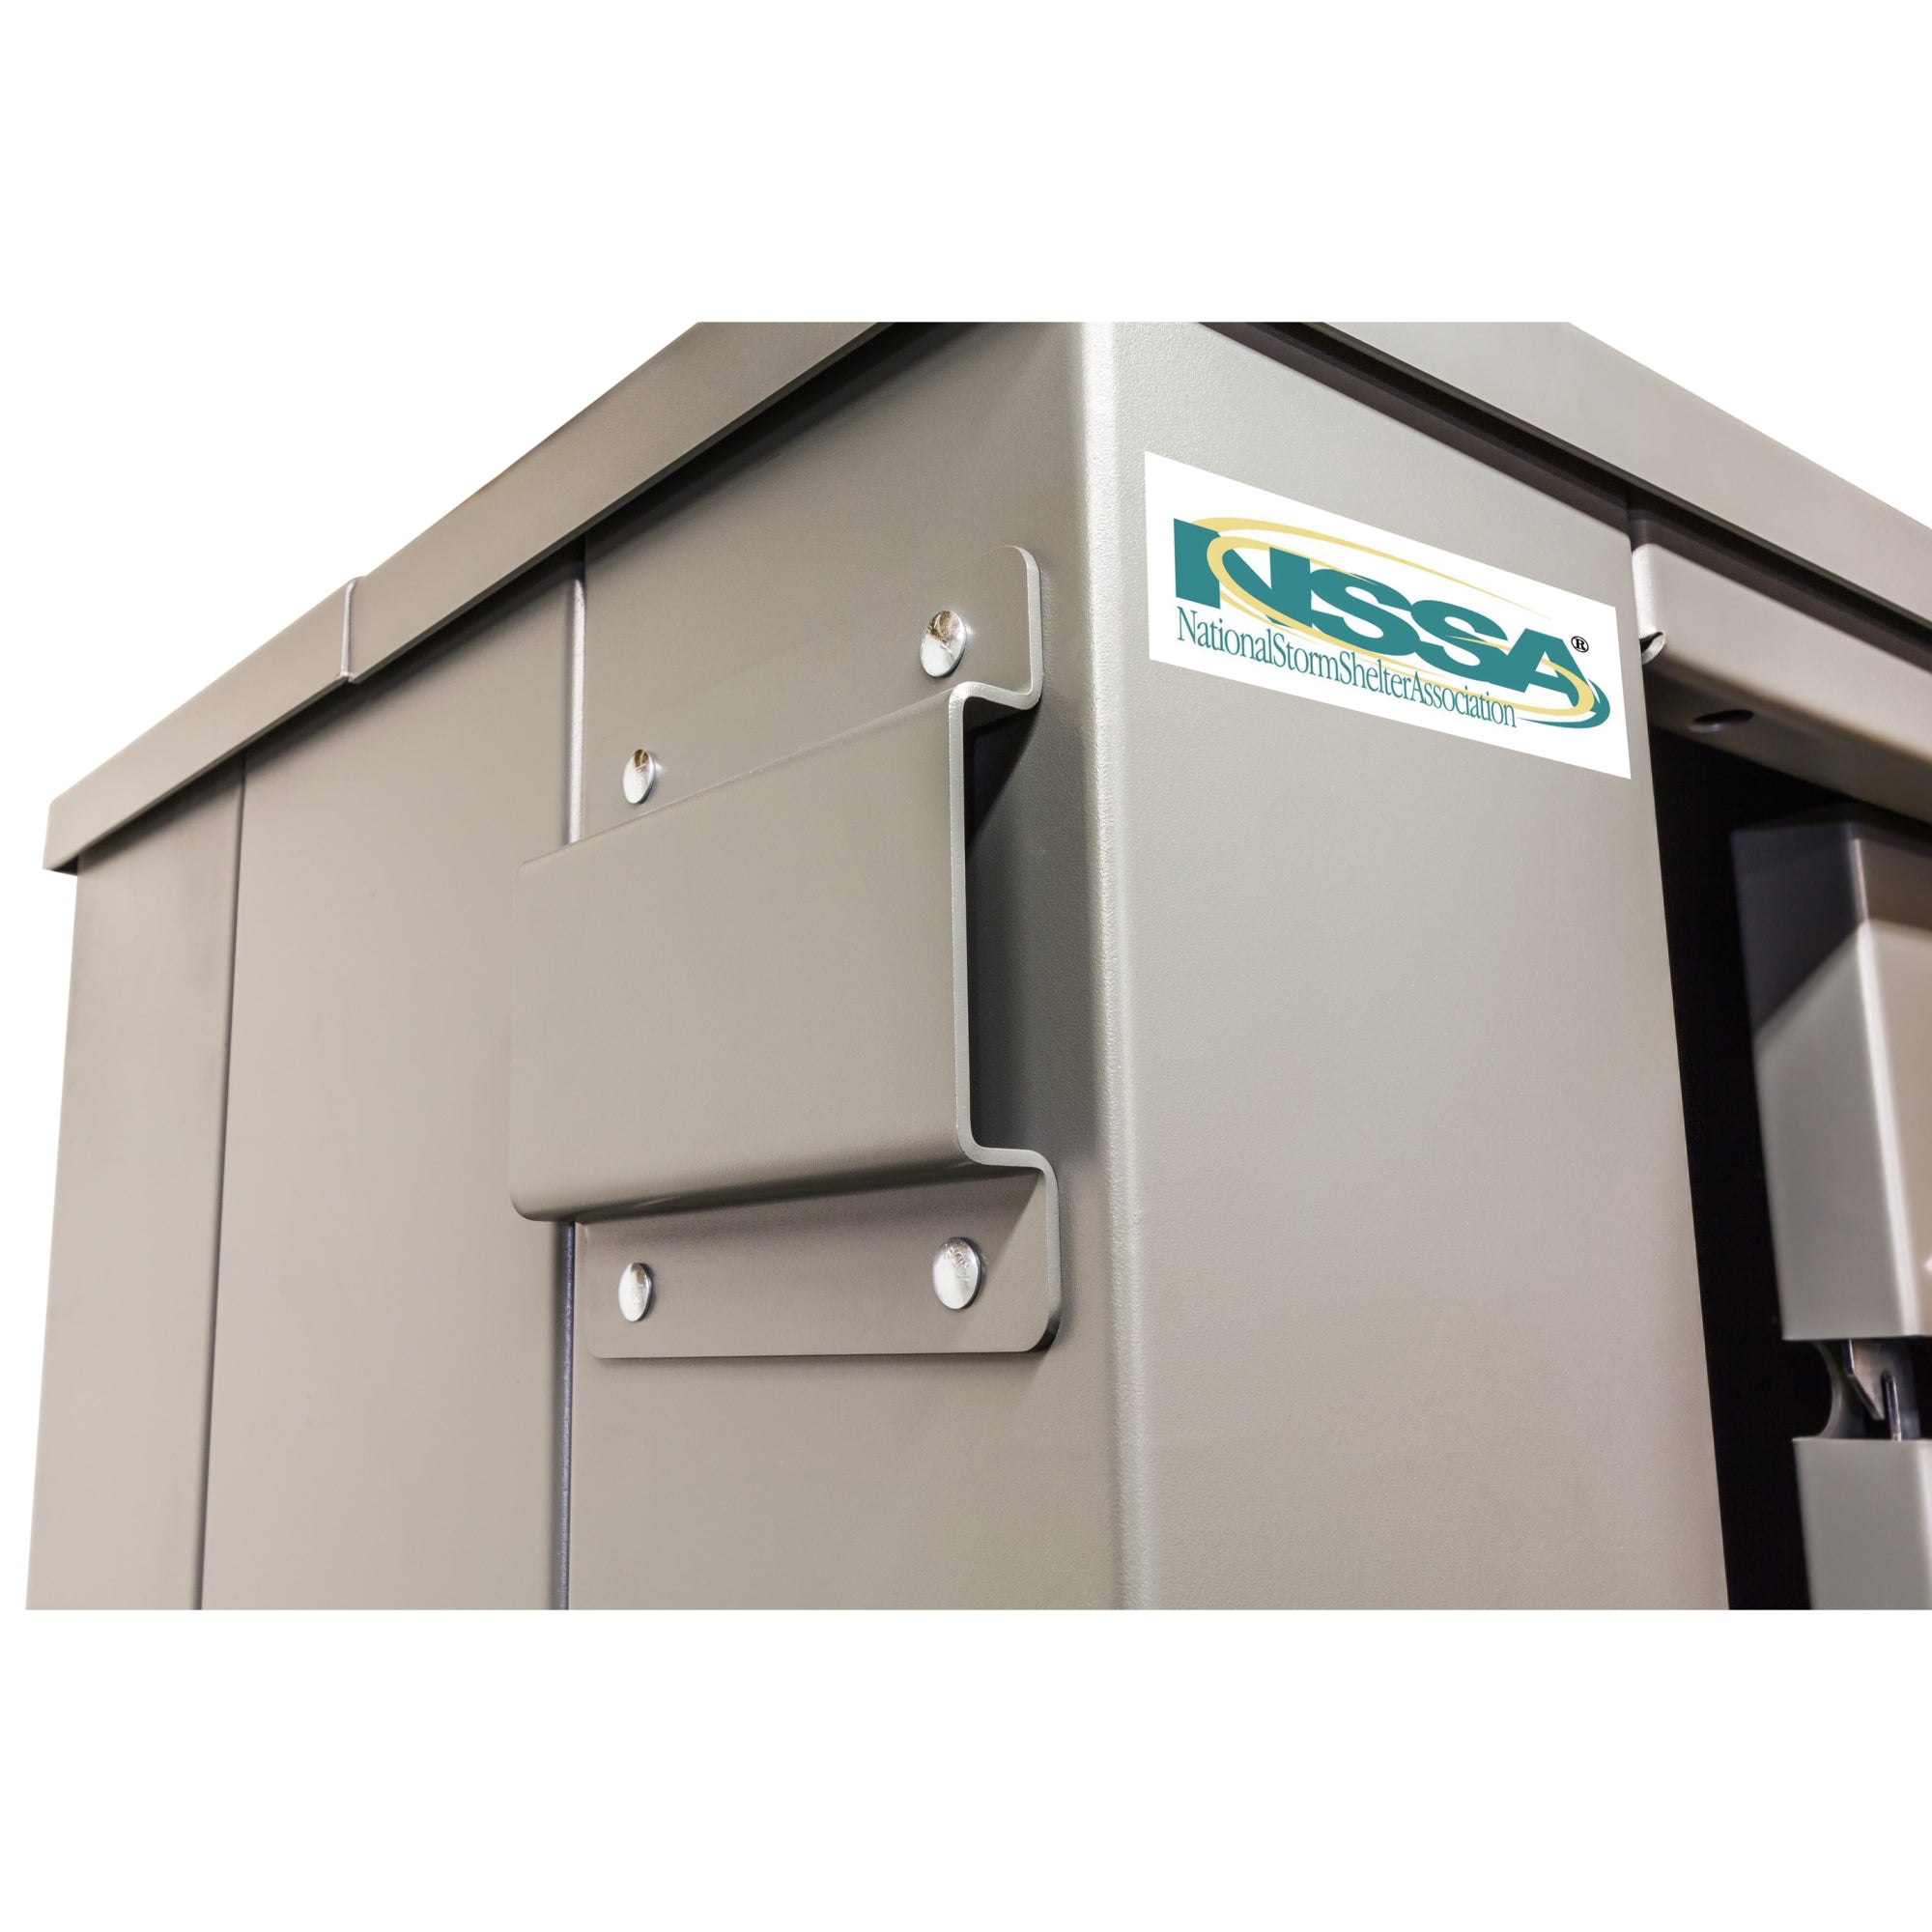
The Swisher ESP Safety Shelter has been tested and certified at the National Wind Institute at Texas Tech University, successfully withstanding nine impacts from 15-pound 2x4s traveling at 100 mph—the equivalent of debris propelled by an EF5 tornado with 250 mph winds. Each ESP Safety Shelter meets or exceeds the stringent safety standards of FEMA P-320, FEMA P-361, ICC-500 Code, and National Storm Shelter Association (NSSA) Compliance.
Each ESP Safety Shelter is designed by Registered Structural Engineers and undergoes a rigorous third-party review process. It includes step-by-step installation checklists and an inspection checklist to ensure compliance with safety standards. While designed as a DIY project, final installation must be inspected by a qualified inspector to validate compliance.
This above-ground tornado shelter and safe room is ideal for installation inside a home or placement within 150 feet of a residence (must be weather-protected if placed outdoors). Built for extreme tornado and storm protection, it is engineered to withstand severe winds, flying debris, and home invasions, providing critical minutes for emergency response.
All models are FEMA & NSSA Certified, meeting or exceeding FEMA P-320, FEMA P-361, and ICC-500 safety requirements. Backed by the Lifetime Storm Damage Replacement Benefit, this shelter ensures long-term protection when installed per manufacturer guidelines.
FEMA P-320 states: "Having a safe room built for your home or small business can help provide 'near-absolute protection' for you and your family or employees from injury or death caused by the dangerous forces of extreme winds."
Stay protected against the deadliest storms and security threats with an ESP Safety Shelter—your ultimate safe room solution.
Order yours today and transform your backyard into the perfect retreat!
Need a different size? Contact our team at support@outdoorlivingretreat.com for availability in additional sizes.
Regular Shipping Time:
Less than 1 Week: We strive to keep all shelters in stock. Possibility of same-day delivery. Please ensure 1 to 2 people are available to unload the shelter crate upon delivery for a smooth experience. Shipping includes curbside delivery with a liftgate for all shipments. If you have any questions, please contact our support team!
Key Features
Ultimate Safety & Protection
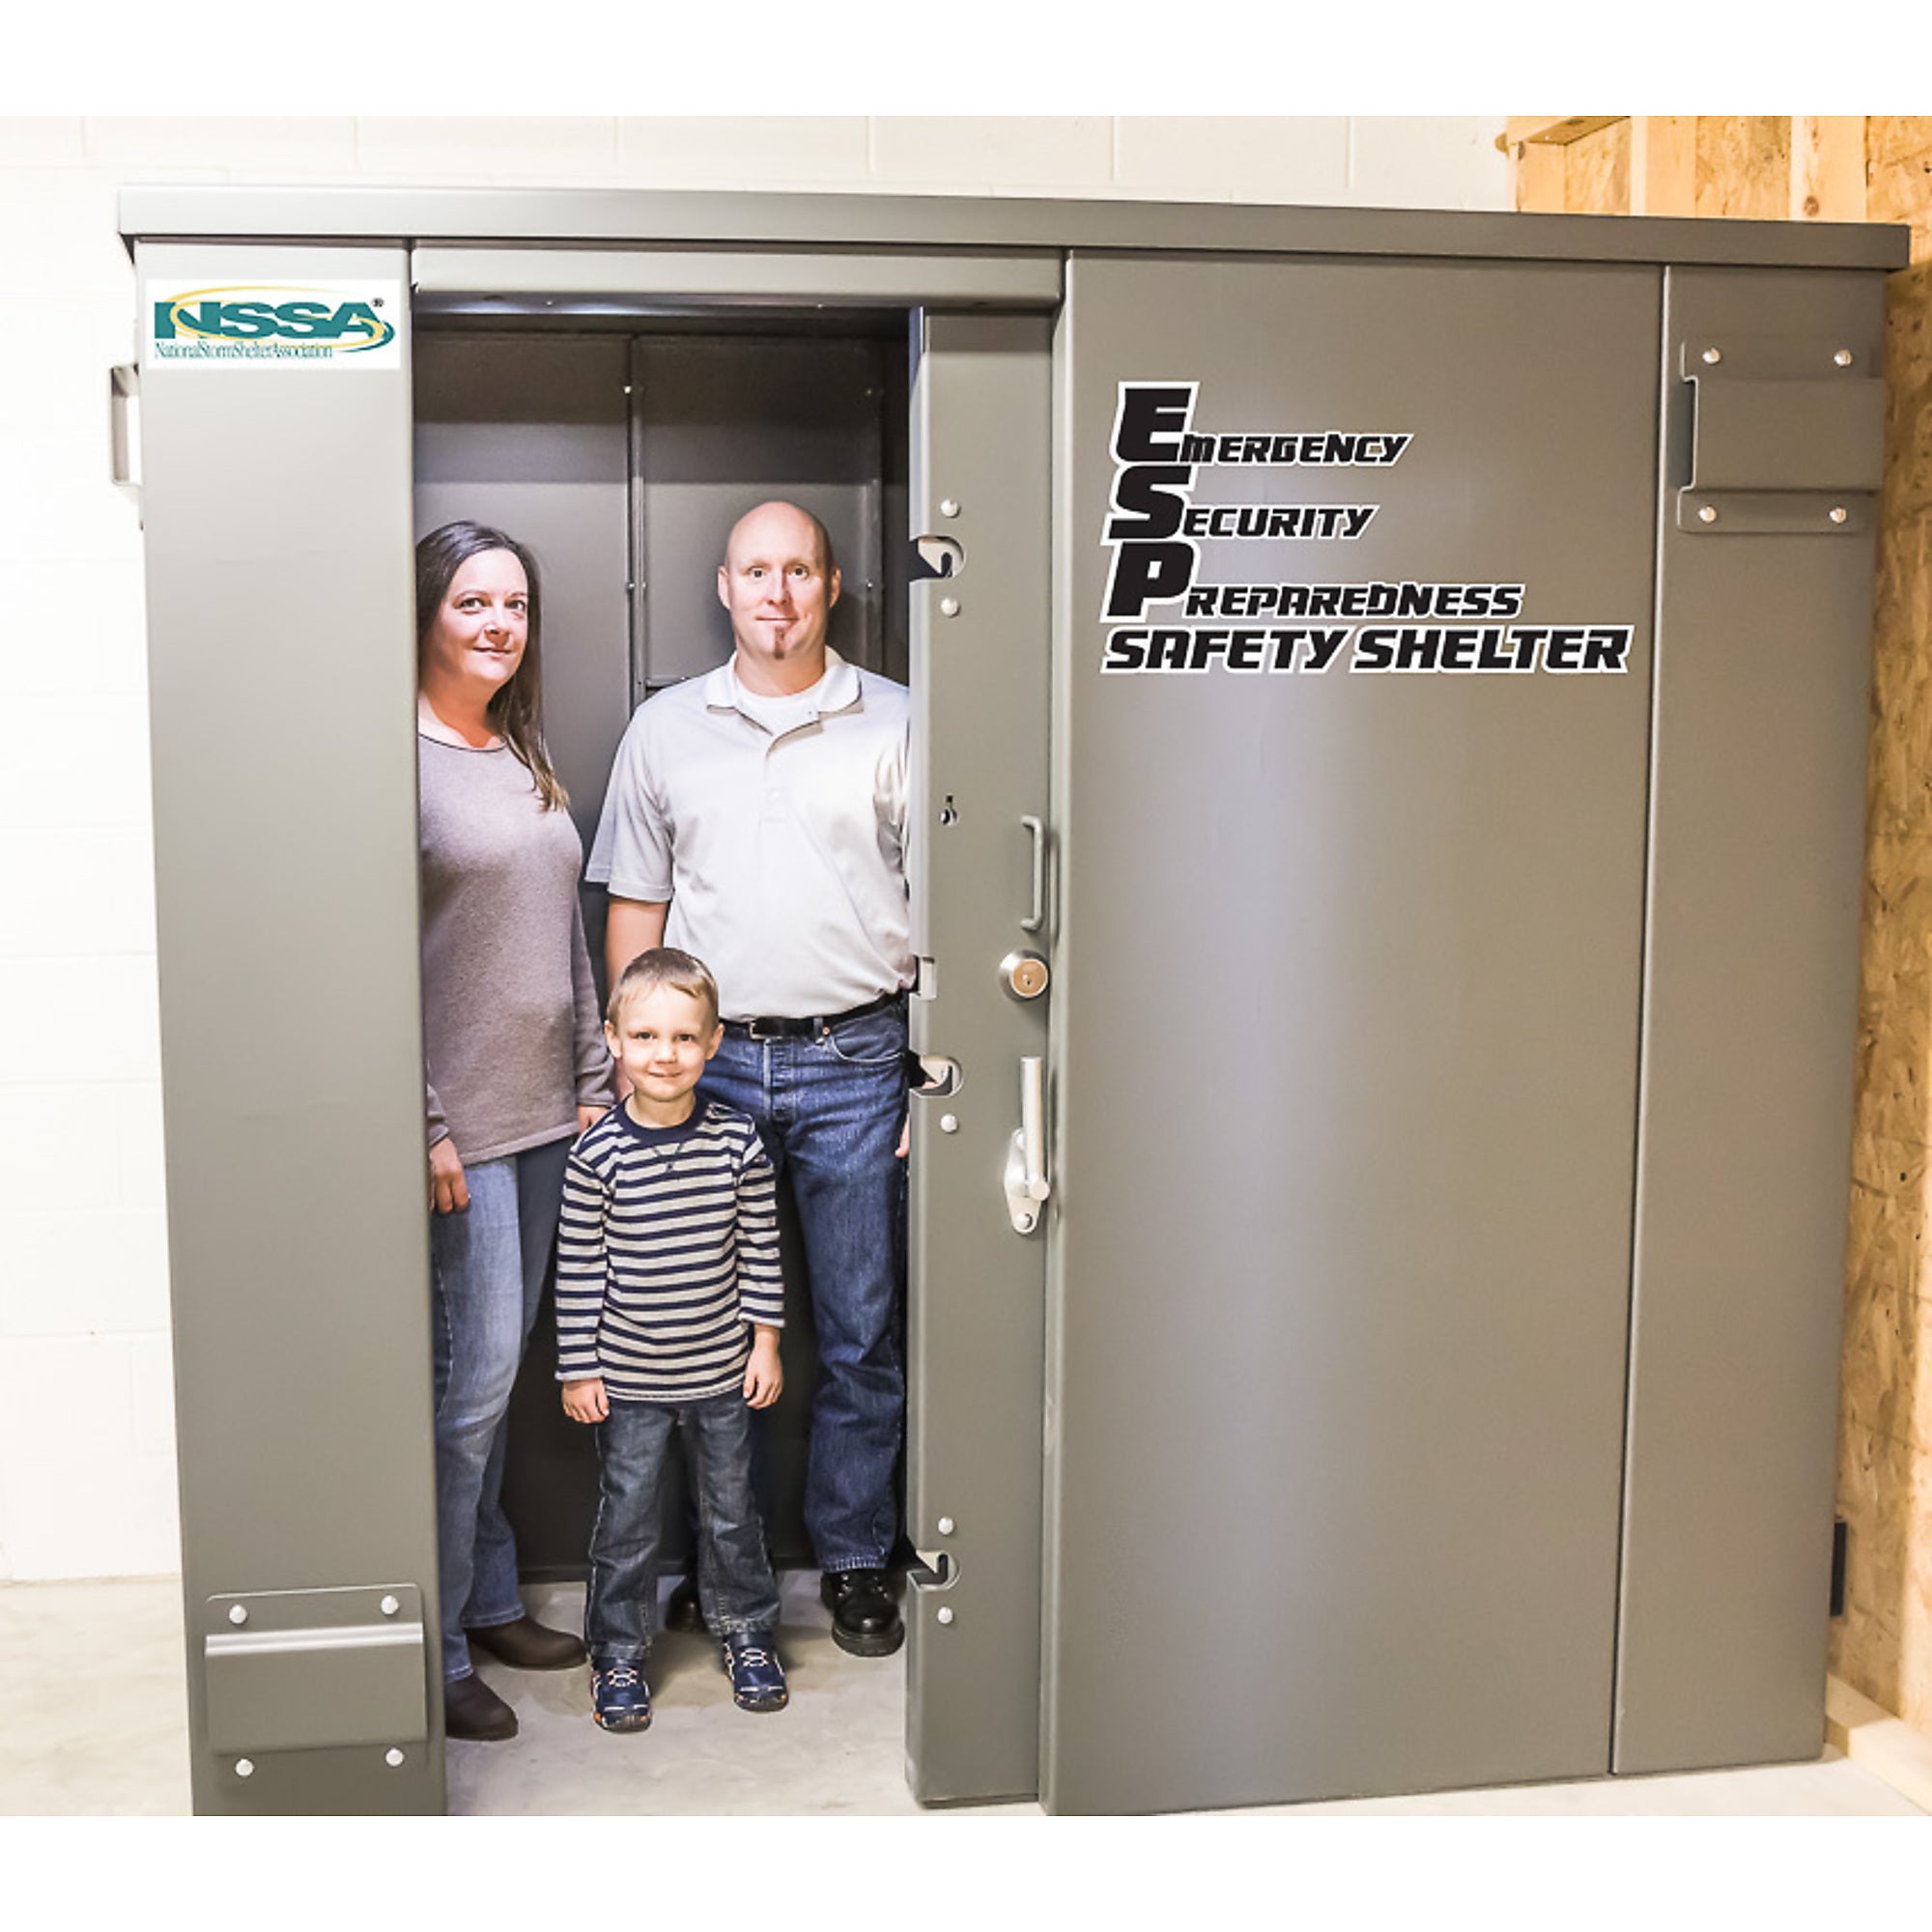
✔ Spacious Interior – Internal dimensions: 80”L x 110”W x 76”H (203 cm x 279 cm x 193 cm); External dimensions: 87”L x 117”W x 78”H (221 cm x 297 cm x 198 cm). Comfortably accommodates up to 20 Person Private / 12 Person Business
✔ EF5 Tornado Protection – Provides near-absolute protection against EF5 tornadoes with winds up to 250 mph, meeting FEMA P-320, P-361, and ICC-500 standards
✔ Home Intrusion Defense – Functions as a panic room, offering a secure space against home invasions and unauthorized access
✔ Reinforced Vault Security – Acts as a personal vault to protect valuables and belongings (not fire-rated due to storm-resistant design)
Superior Engineering & Build Quality
✔ Heavy-Duty Steel Construction – Built with 3/16” (0.188”) thick carbon steel, Grade 5 hardware, and a durable powder-coated finish for maximum strength and longevity
✔ Innovative Sliding Door – Unlike traditional storm shelters, the reinforced steel sliding door eliminates space constraints and prevents entrapment from debris
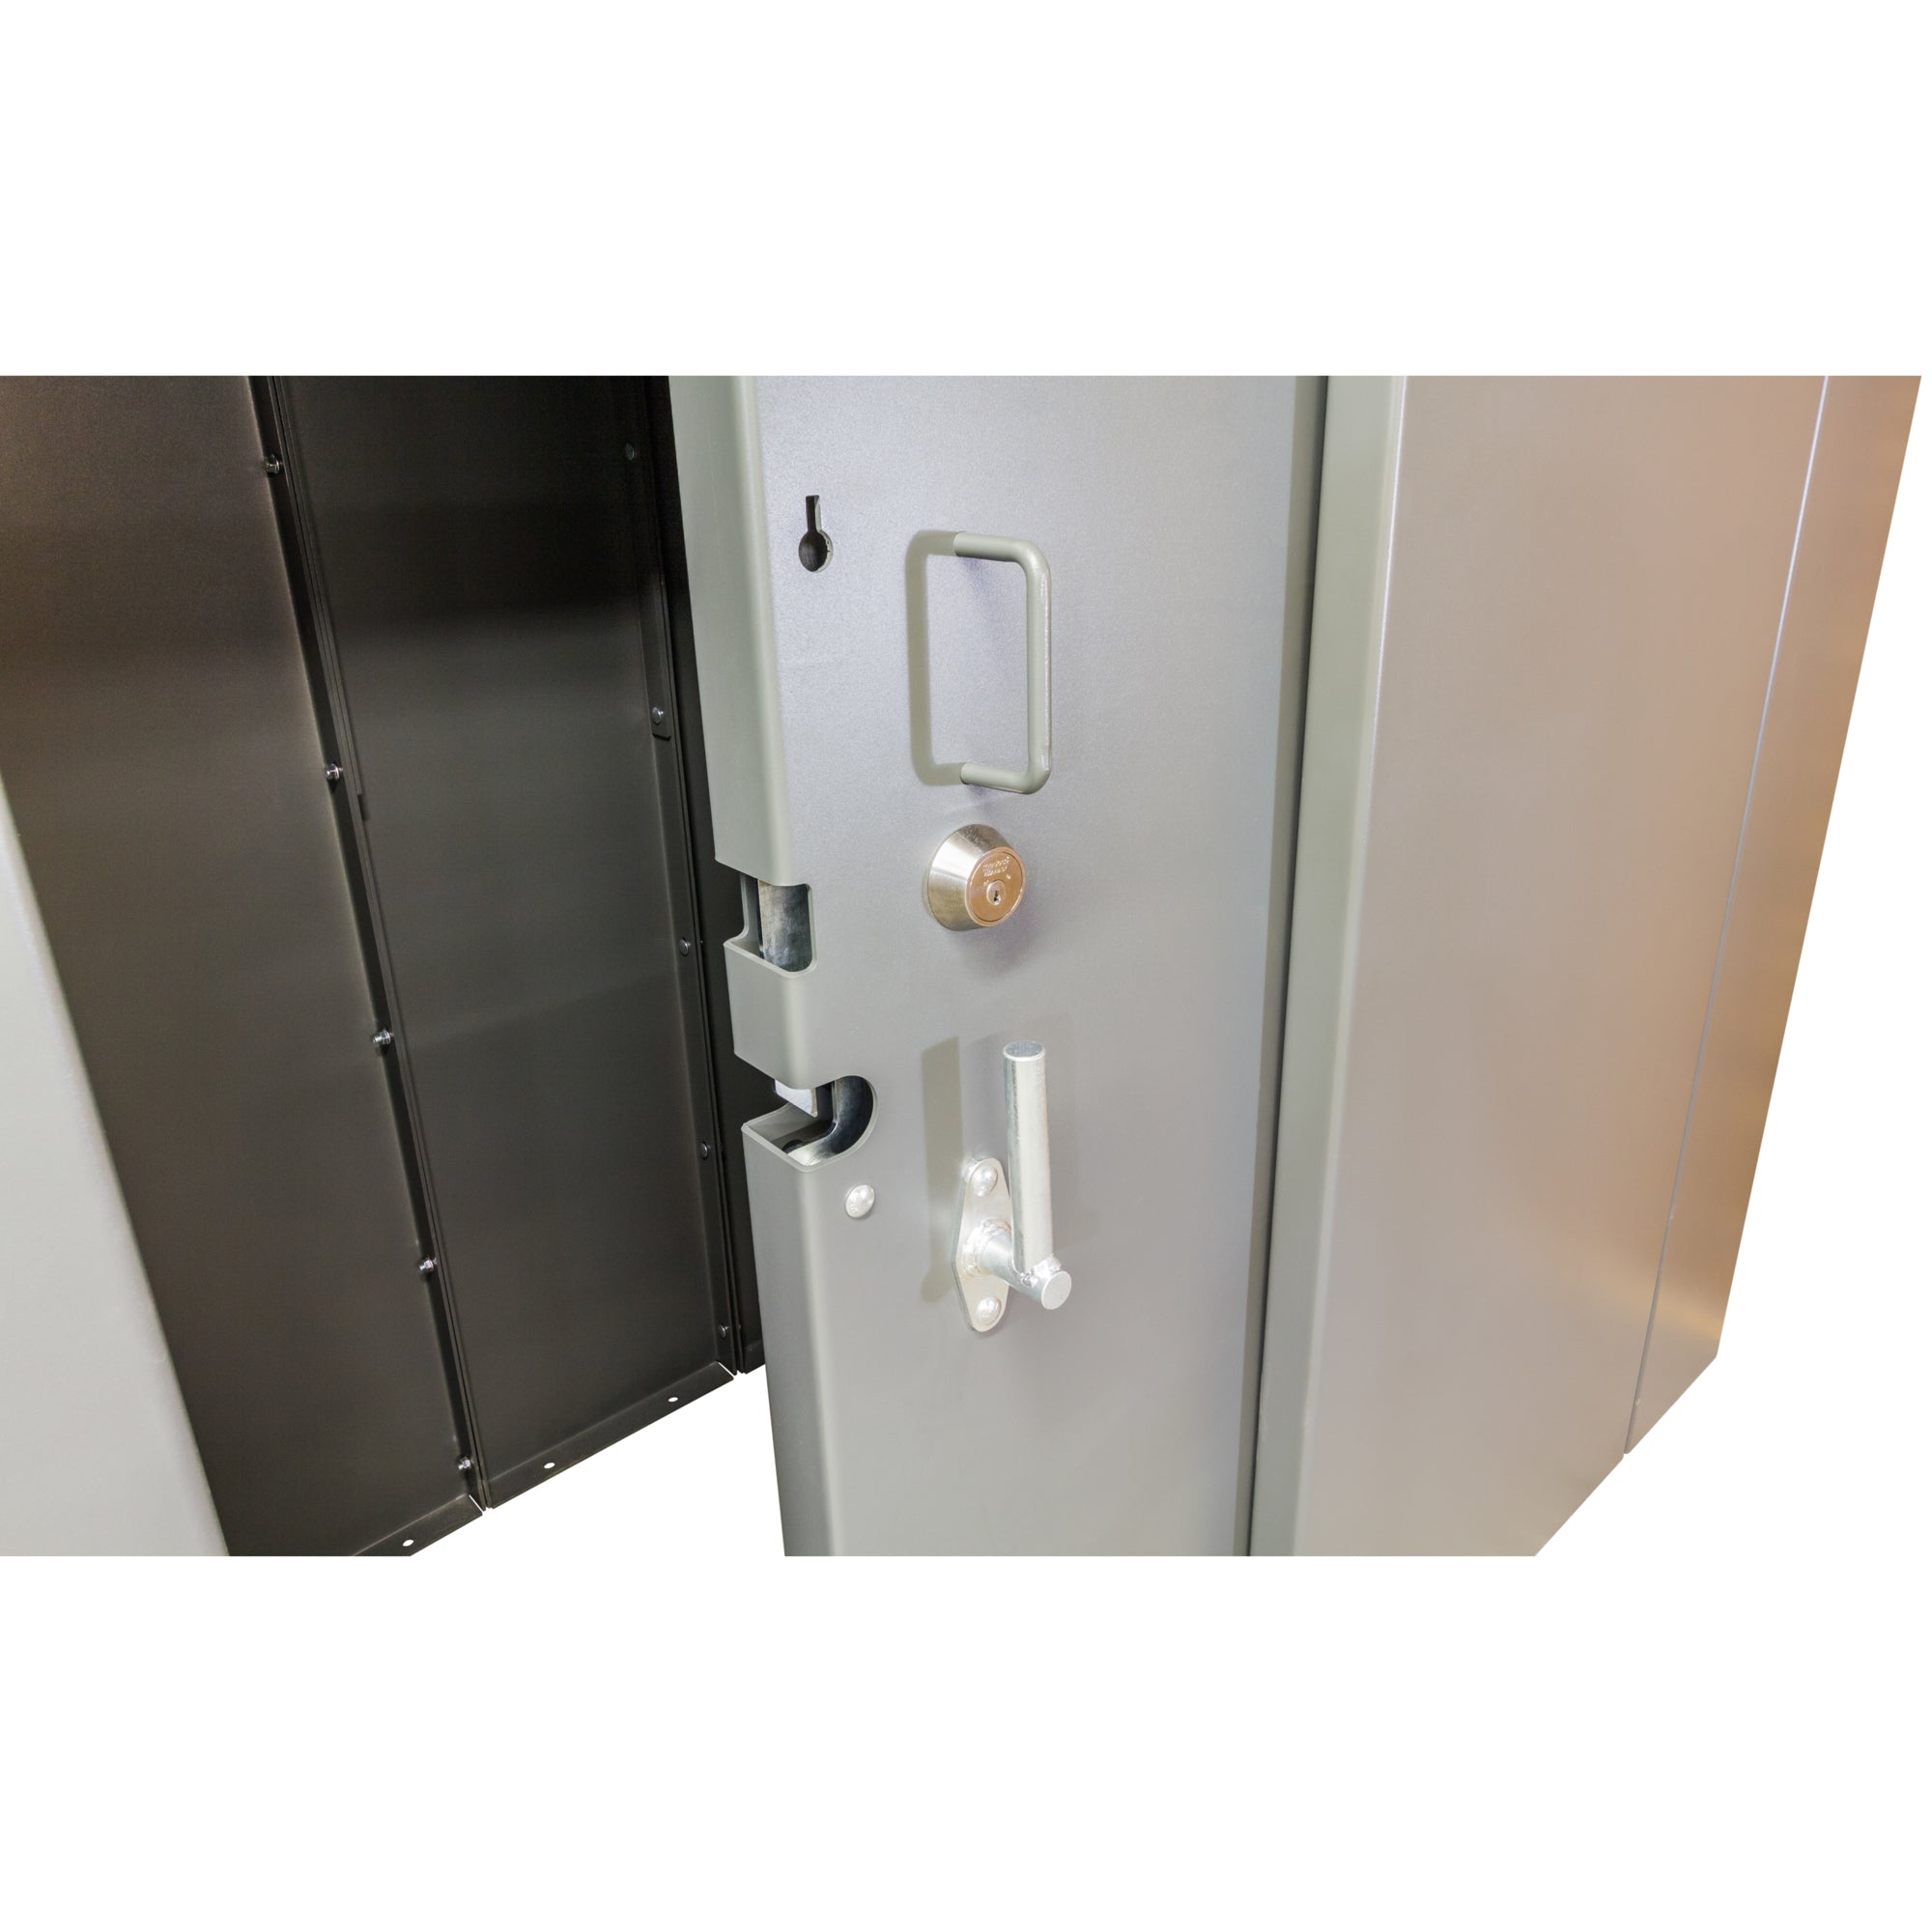
✔ Advanced Locking Mechanism – Equipped with a security-grade deadbolt, three steel locking pins, and an additional interior-only locking pin for ultimate security
Quick & Reliable Emergency Access
✔ Single Motion Locking System – Secure the shelter in one swift motion—no need to fumble with multiple locks during an emergency
✔ Emergency Escape Panels – Includes removable panels and an emergency wrench for rapid exit in case of obstruction
✔ Shielded Air Vents – Ensures continuous airflow while maintaining safety and structural integrity
Modular & Customizable Design
✔ Expandable Size Options – Optional expansion kits increase shelter depth from 39” (99 cm) to 144” (366 cm), accommodating growing families
✔ Bolt-Together Assembly – Modular construction allows for easy installation and relocation
✔ Custom Accessories – Benches, shelving, built-in gun racks, and other add-ons available for personalized storage and comfort
Unmatched Warranty & Reliability
✔ 5-Year Limited Warranty – Backed by a warranty and Lifetime Storm Damage Replacement for long-term peace of mind
Cons of Below-Ground Shelters:
✖ Vulnerable to ground movement caused by freezing temperatures in winter
✖ Risk of being pushed out of the ground in areas with a high water table
✖ Excavation costs can be high, especially if bedrock is present
✖ Potential for flooding due to rain, broken pipes, or high groundwater levels
✖ Entry may be difficult due to steep and narrow stairways
Pros of Above-Ground Shelters:
✔ Requires minimal or no ground preparation
✔ Easily accessible, making it more suitable for the elderly and disabled
✔ Lower risk of flooding from rain or plumbing issues
✔ Generally more affordable to install
✔ Can be conveniently placed inside a home or other structure
Invest in the ultimate safety solution to protect what matters most—your family, your home, and your peace of mind.
Specifications
Specifications:
- Maximum Number of Occupants: 20 Person Private / 12 Person Business
- Color: Grey
- Internal dimensions: 80”L x 110”W x 76”H (203 cm x 279 cm x 193 cm)
- External dimensions: 87”L x 117”W x 78”H (221 cm x 297 cm x 198 cm)
- Lockable: Yes
- Ventilated: Yes
- Installation Location: Above Ground
- Material: Steel
- Ship Length: 7.25 ft
- Ship Width: 9.75 ft
- Ship Height: 6.5 ft
- Product Weight: 3000.0 lbs.
- Ship Weight: 3186.0 lbs.
- Number of Packages: 3 pallets
- Manufacture's Warranty: 5 year limited warranty
- Country of Origin: USA
What's Included?
- Shelter
- Anchor Template & Hardware

Assembly Instructions & Manuals
Installation Manuals and Packing Info:
- ESP Safety Shelter - Product Manual
- ESP Safety Shelter - Anchoring Requirements
- ESP Safety Shelter - FAQs
Read Before Installation
Carefully review the assembly manual before starting the installation process. This will help you avoid mistakes and save time.
Choosing a Location for Your Safety Shelter
- Place the shelter at or above the minimum elevation required by local floodplain regulations or one foot above the highest recorded flood level if the area is unmapped.
- Install the shelter inside a residence or within 150 feet of the home it serves. If placed outdoors, ensure it is protected from weather conditions.
- Avoid placing the shelter over an expansion joint in the concrete slab.
- Do not install the shelter in low-lying or damp areas, as prolonged exposure to moisture can cause damage not covered under warranty.
- Maintain at least a 3-foot distance from any electrical or gas appliance.
- Ensure the shelter does not obstruct access to electrical panels or breaker boxes.
- Keep at least 2 inches of clearance from any walls or structures. The side with the Lower and Upper Wall Panel Assembly should allow enough space for safe passage. Refer to pages 12 & 21 of this manual and the Emergency Exit Instruction Sheet (PN 20056) for more details.
- Do not store items that block the shelter’s ventilation.
Operating and Safety Instructions
Safety Precautions
- The ESP Safety Shelter is professionally engineered and tested to meet or exceed FEMA P-320 and ICC-500 standards.
- It complies with the National Storm Shelter Association (NSSA) standards and can bear its seal upon proper installation.
- Keep children from playing in or around the shelter.
- Always keep the shelter locked, storing the key out of children’s reach but accessible in an emergency.
- When closing the door from inside, use one hand on the long handle on the door jamb and the other on the inside door handle. Avoid placing hands near the door edges to prevent injury.
- Do not connect high-voltage electrical fixtures or appliances without consulting a licensed electrician and local electrical codes. Battery-operated lighting is recommended.
- Never store flammable materials or fuel inside the shelter.
- Do not use open flames inside, as this can deplete oxygen and cause asphyxiation.
- Keep a flashlight or battery-operated light inside, checking or replacing the batteries twice per year.
- Familiarize yourself with the shelter’s door operation to ensure quick and safe entry/exit during an emergency.
- Do not place items in front of the door that could obstruct access.
- Develop and practice a family emergency plan that includes shelter use. Conduct a drill at least once a year.
- Be cautious of wet or slippery floors when entering the shelter during storms.
- Always take a mobile phone into the shelter for emergency communication. However, do not leave the shelter during a tornado warning to retrieve a phone.
- Enter the shelter whenever a Tornado Watch or Warning is issued for your area.
- Keep the shelter stocked with essential supplies for emergency use.
Safety Shelter Operation
- Never allow children to play in or near the shelter.
- The shelter serves as protection from tornadoes and severe storms, a panic room during home invasions, and a vault for valuables. Ensure stored items do not prevent emergency use.
- Store the key in an accessible location for adults while keeping it out of children’s reach.
- Stock the shelter with essential emergency supplies, including a first aid kit, weather radio (with extra batteries), earplugs, drinking water (1 gallon per person), flashlights, games for children, and the provided emergency wrench (PN 20075Y).
- Conduct an annual emergency drill to familiarize all household members with shelter procedures.
- Train older children on safe shelter use if they may be home alone during an emergency.
- Keep the shelter locked when not in use to prevent children from playing inside.
- To enter, unlock and remove the key, taking it inside with you.
- Open the door by rotating the handle to the right and sliding it open.
- Ensure all occupants are inside and accounted for.
- Close the door carefully by pulling it into the jamb until all three latches engage.
- Verify the latch engagement by checking the black knurled handle and testing the door.
- Insert the Locking Pin into the keyhole and turn the handle down to secure it. Keep the pin in place until it is safe to exit.
- During high winds, stay at least 3 inches away from the walls and door. Secure all loose objects to prevent injury from debris.
- After a severe storm, remain inside until emergency personnel confirm it is safe to exit. Use a phone to call 911 if needed.
- Listen to a weather radio for confirmation before leaving the shelter, as conditions may still be hazardous.
- To exit, remove the Locking Pin, unlock the deadbolt, and slide the door open.
- If the door becomes blocked, follow the emergency exit procedure using the provided wrench (PN 20075Y) and refer to pages 12, 19, and 25 of this manual.
Recommended Tools for Assembly
- Leather gloves
- Safety glasses
- Flashlight
- Hammer drill with ½” carbide concrete drill bits (avoid diamond bits)
- Hammer
- Torque wrench (40 ft-lbs capacity)
- 9/16” open-end wrench or socket wrench
- ⅜” drive x 9/16” deep well socket wrench with extension
- Two ¾” open-end wrenches
- ¾” deep well socket wrench
- Screwdriver or punch for hole alignment
Note: The supplied emergency wrench (PN 20075Y) is intended for emergencies only and is not recommended for assembly.
By following these instructions, you’ll ensure smooth operation, longevity, and optimal performance of your ESP Safety Shelter.
⚠ Reminder: Always follow the specific installation manual included with your product for accurate assembly instructions.
Videos
Video - Swisher ESP Safety Shelter Intro
Video - Swisher ESP Safety Shelter Features
Video - Swisher ESP Safety Shelter Safety Test
Safety Shelter Inspection & Maintenance
Periodic Inspection
- Inspect the Safety Shelter at least twice a year to ensure proper operation.
- Check for any objects blocking the door or vents on the outside of the shelter. Remove any obstructions.
- Unlock the door and slide it fully open. If it does not move freely, check for obstructions in the overhead rail or behind the door and remove them. The door rollers are sealed for life and do not require lubrication.
- Use a flashlight to inspect the door latch mechanism. Move the latch handle to ensure it operates smoothly. If needed, apply light oil to any stiff joints.
- Close the door and ensure the latch fully engages with all three latch pins without force. If alignment issues occur, refer to the Installation Instructions for adjustment.
- Lock the deadbolt and attempt to unlatch the door using the knurled handle. The handle should not move or disengage the door from the latch pins. If it does, check the deadbolt for proper engagement.
- With the door closed and the deadbolt locked, insert the Locking Pin through the Door Jamb, Door, and Latch Bar. Rotate the Locking Pin handle 90° counterclockwise to secure it. Then, unlock the deadbolt and test the latch handle— the door should remain locked.
- Relock the deadbolt, then remove the three Latch Pins and the Locking Pin. The door should open freely for emergency escape.
- Reinstall the Latch Pins, exit the shelter, and close the door. Pull the door firmly to ensure it is securely latched. Lock the deadbolt and attempt to open the door. If it opens, follow the Installation Instructions for proper alignment.
- Annually, check and tighten the anchor bolts to 40 ft-lbs and all other bolts to 31 ft-lbs.
Periodic Maintenance
- Clean the shelter using warm water, a damp cloth, and mild dish soap. Rinse thoroughly and dry completely.
- Do not use solvents or harsh chemicals, as they can damage the powder-coated finish, leading to rust and voiding the warranty.
- Do not attempt to repair the shelter yourself. For any repairs, contact the manufacturer at 800-222-8183.
- Once a year, apply light (3-in-1) oil to all moving joints in the door latch mechanism to maintain smooth operation.
Warranty, Cancellation, Refund & Return Policy
Return Policy
Returns are subject to a 25% restocking fee, and the customer is responsible for return shipping costs to our facility. The item must be returned undamaged and in its original packaging to qualify for a return.
Refund Policy
Credit card cancellations or refunds will incur a 7% processing fee.
Cancellation Policy
Orders can be canceled before shipment with a 7% credit card processing fee applied. If the unit has already been shipped, the customer will be responsible for a 25% restocking fee and must cover the cost of return shipping to our facility.
Warranty Policy
5-Year Limited Warranty – Backed by a warranty and Lifetime Storm Damage Replacement for long-term peace of mind.
The manufacturer’s limited warranty applies to the original consumer purchaser and guarantees that the Safe Room is free from defects in materials and workmanship for a period of five (5) years from the date of purchase. The manufacturer will, at its discretion, repair or replace any parts found to be defective due to materials or workmanship.
To exercise this limited warranty, the owner must allow the manufacturer (or its representative) to inspect the Safe Room onsite. Failure to permit this inspection will result in the warranty being voided. Upon inspection, the manufacturer will determine whether the damaged or malfunctioning components will be repaired or replaced.
For any questions regarding warranty claims or product concerns, please contact our support team.